Roll It Out! How to Make a Foam Roller Your New Best Friend

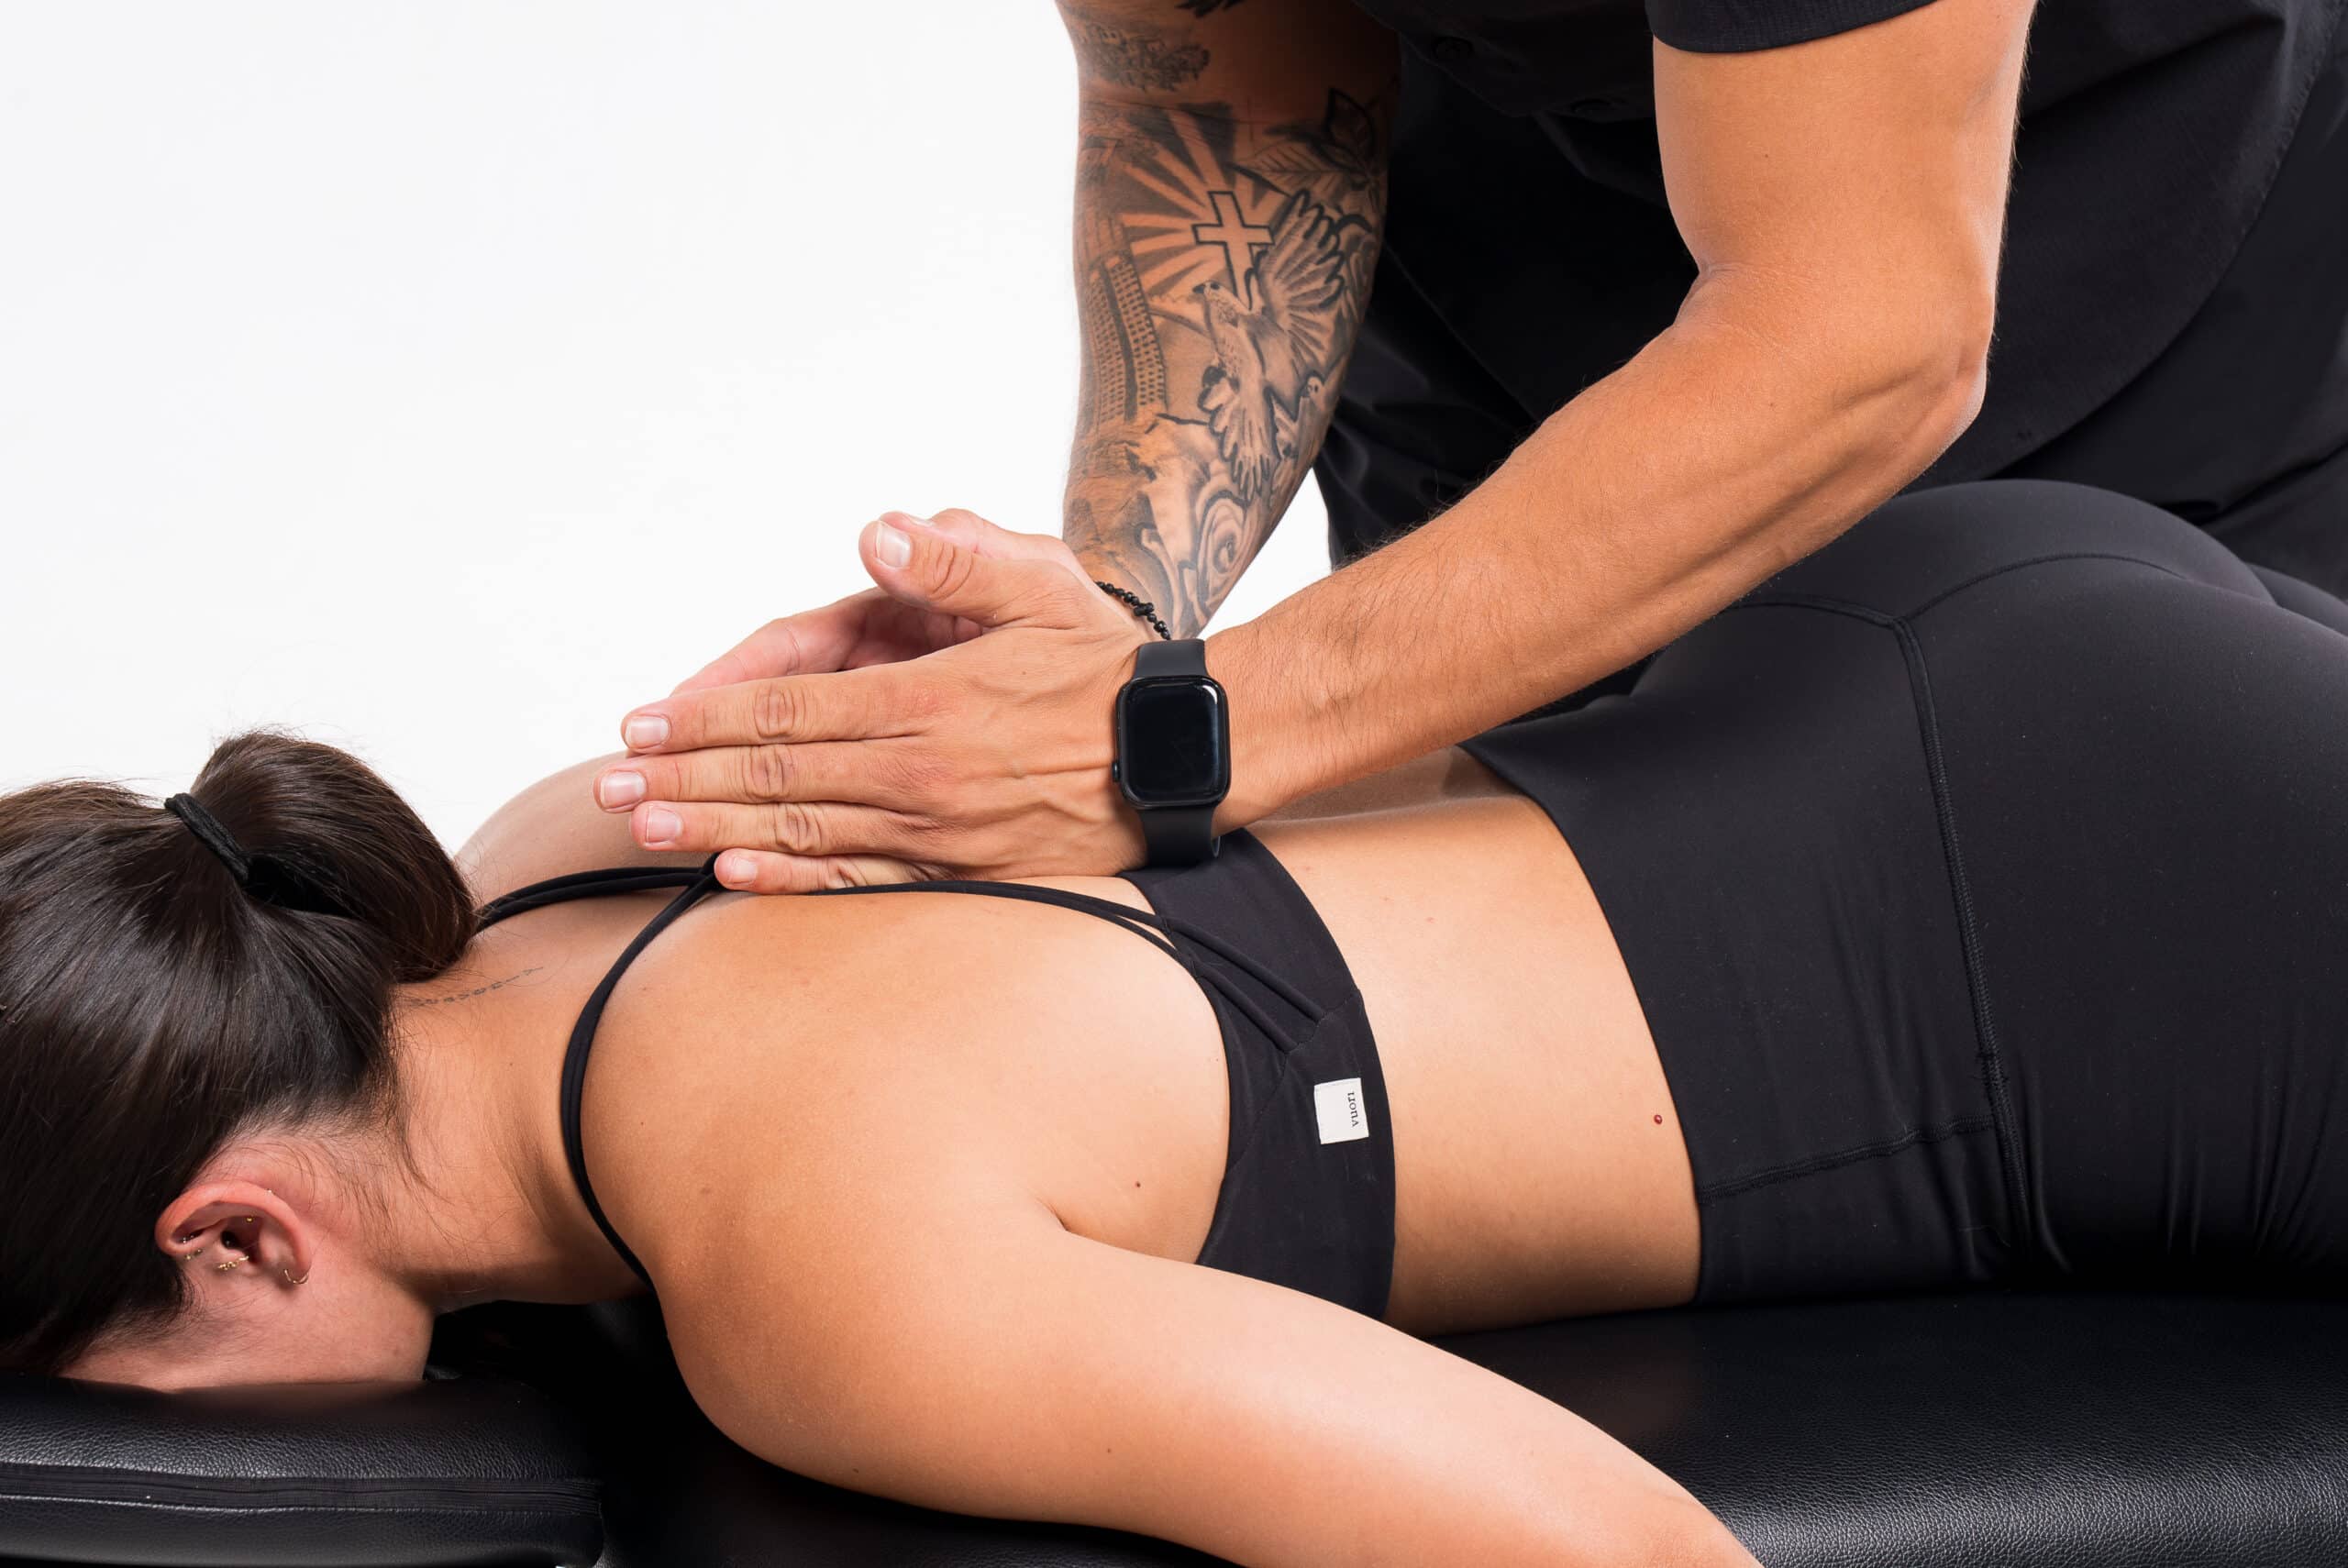
Whether you are just starting an exercise program or you’re a seasoned athlete, soreness from exercising will happen. While the benefits of stretching and massage are great (relaxation, increased blood flow, injury prevention)  – they can be expensive and hard to fit into your daily routine. Good news! You can get the benefits of a massage and stretching AND save time and money by using that long, spongy cylinder located at the stretching area in the gym – the foam roller.

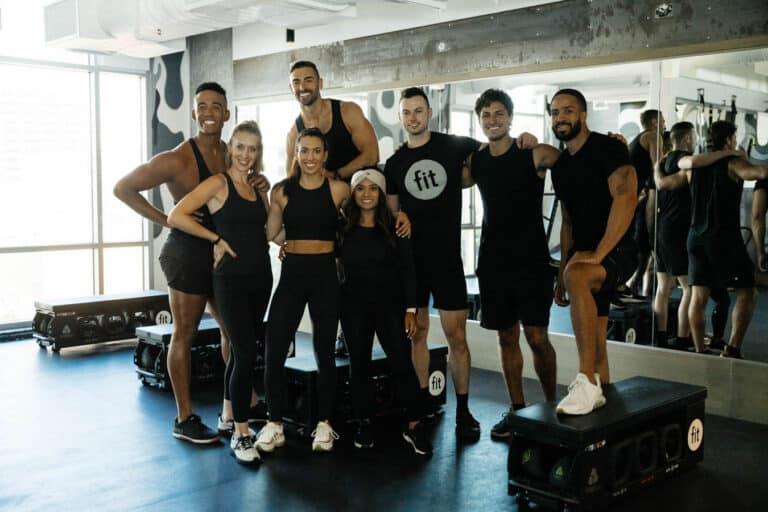
Check out these 5 simple foam rolling moves you can add to your regular exercise routine, demonstrated by Fit Downtown San Diego Trainer Ryan Haines (thanks Ryan!)

1. Place the roller on the floor width-wise, sit on the floor, then lay your back on the roller across your shoulder blades. Place your feet flat as you roll up and down in 2-3 inch movements.  De-stress as you enjoy the tension escape your body with every breath!
2. Turn your body at a slight angle as you explore moving the roller up and down the large muscles of your back. This will increase your blood flow and remove toxins from your body faster. Be mindful of moving slowly and avoiding direct pressure to the bones; keep the roller on the muscles.
3. Turn over onto your belly and move your hands into push up position. Place the roller directly under your upper chest and neck.  Extend one arm forward and into “shake hands” position. Place pressure onto your upper arm and roll slightly to your side and enjoy rolling up your arm and down your side. Use the hand by your chest on the ground to vary the tension on the muscles. Think of a rolling pin and dough as you elongate the muscles. This could be the key to releasing the chronic tension in your neck!
4. The legs are important to foam roll if you have a job where you have to sit for extended periods of time. First sit on the roller with your feet flat and then angle your body slightly to find the muscles of the butt. Again, be mindful in avoiding direct pressure to the bones. As you move forward and back on the roller in 1-2 inch movements, go slowly as you increase your range of motion. Then move to the side of the leg, bringing the leg over flat on the floor for balance.  Move your body down the roller from the hip to the side of the knee in 3-4 inch movements. This is especially helpful as recovery work for people who run on regular basis.
5. Finishing with the calves can help lengthen the muscles and prevent injuries to both the knee and the ankle.  It also just feels great if you’ve been on your feet all day! Sitting upright with your legs strait, place the roller under your calves and then cross your ankles. The weight of the upper leg should be enough pressure to roll out the tension all the way from behind the knee to the heel.

[ts_fab]

Fit Athletic also offers classes to beat the post summer workout slump, and teach you about the gym etiquette rules you are probably breaking.
Share Post

more insights